How (not) to build a house – part 5
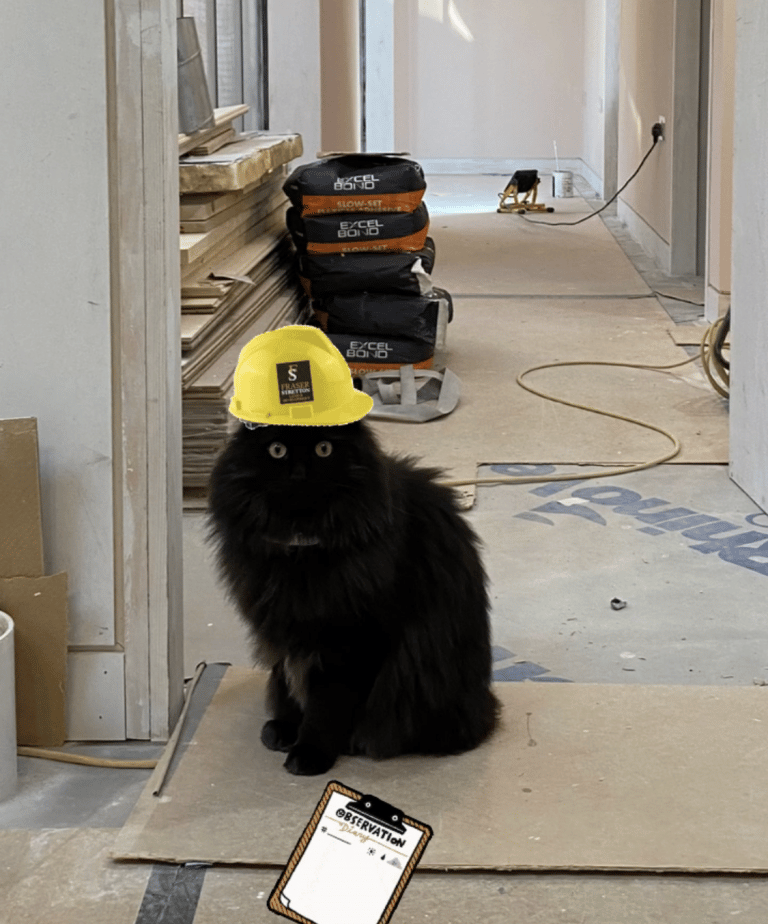
Site manager Bertie working overtime…
The Roof
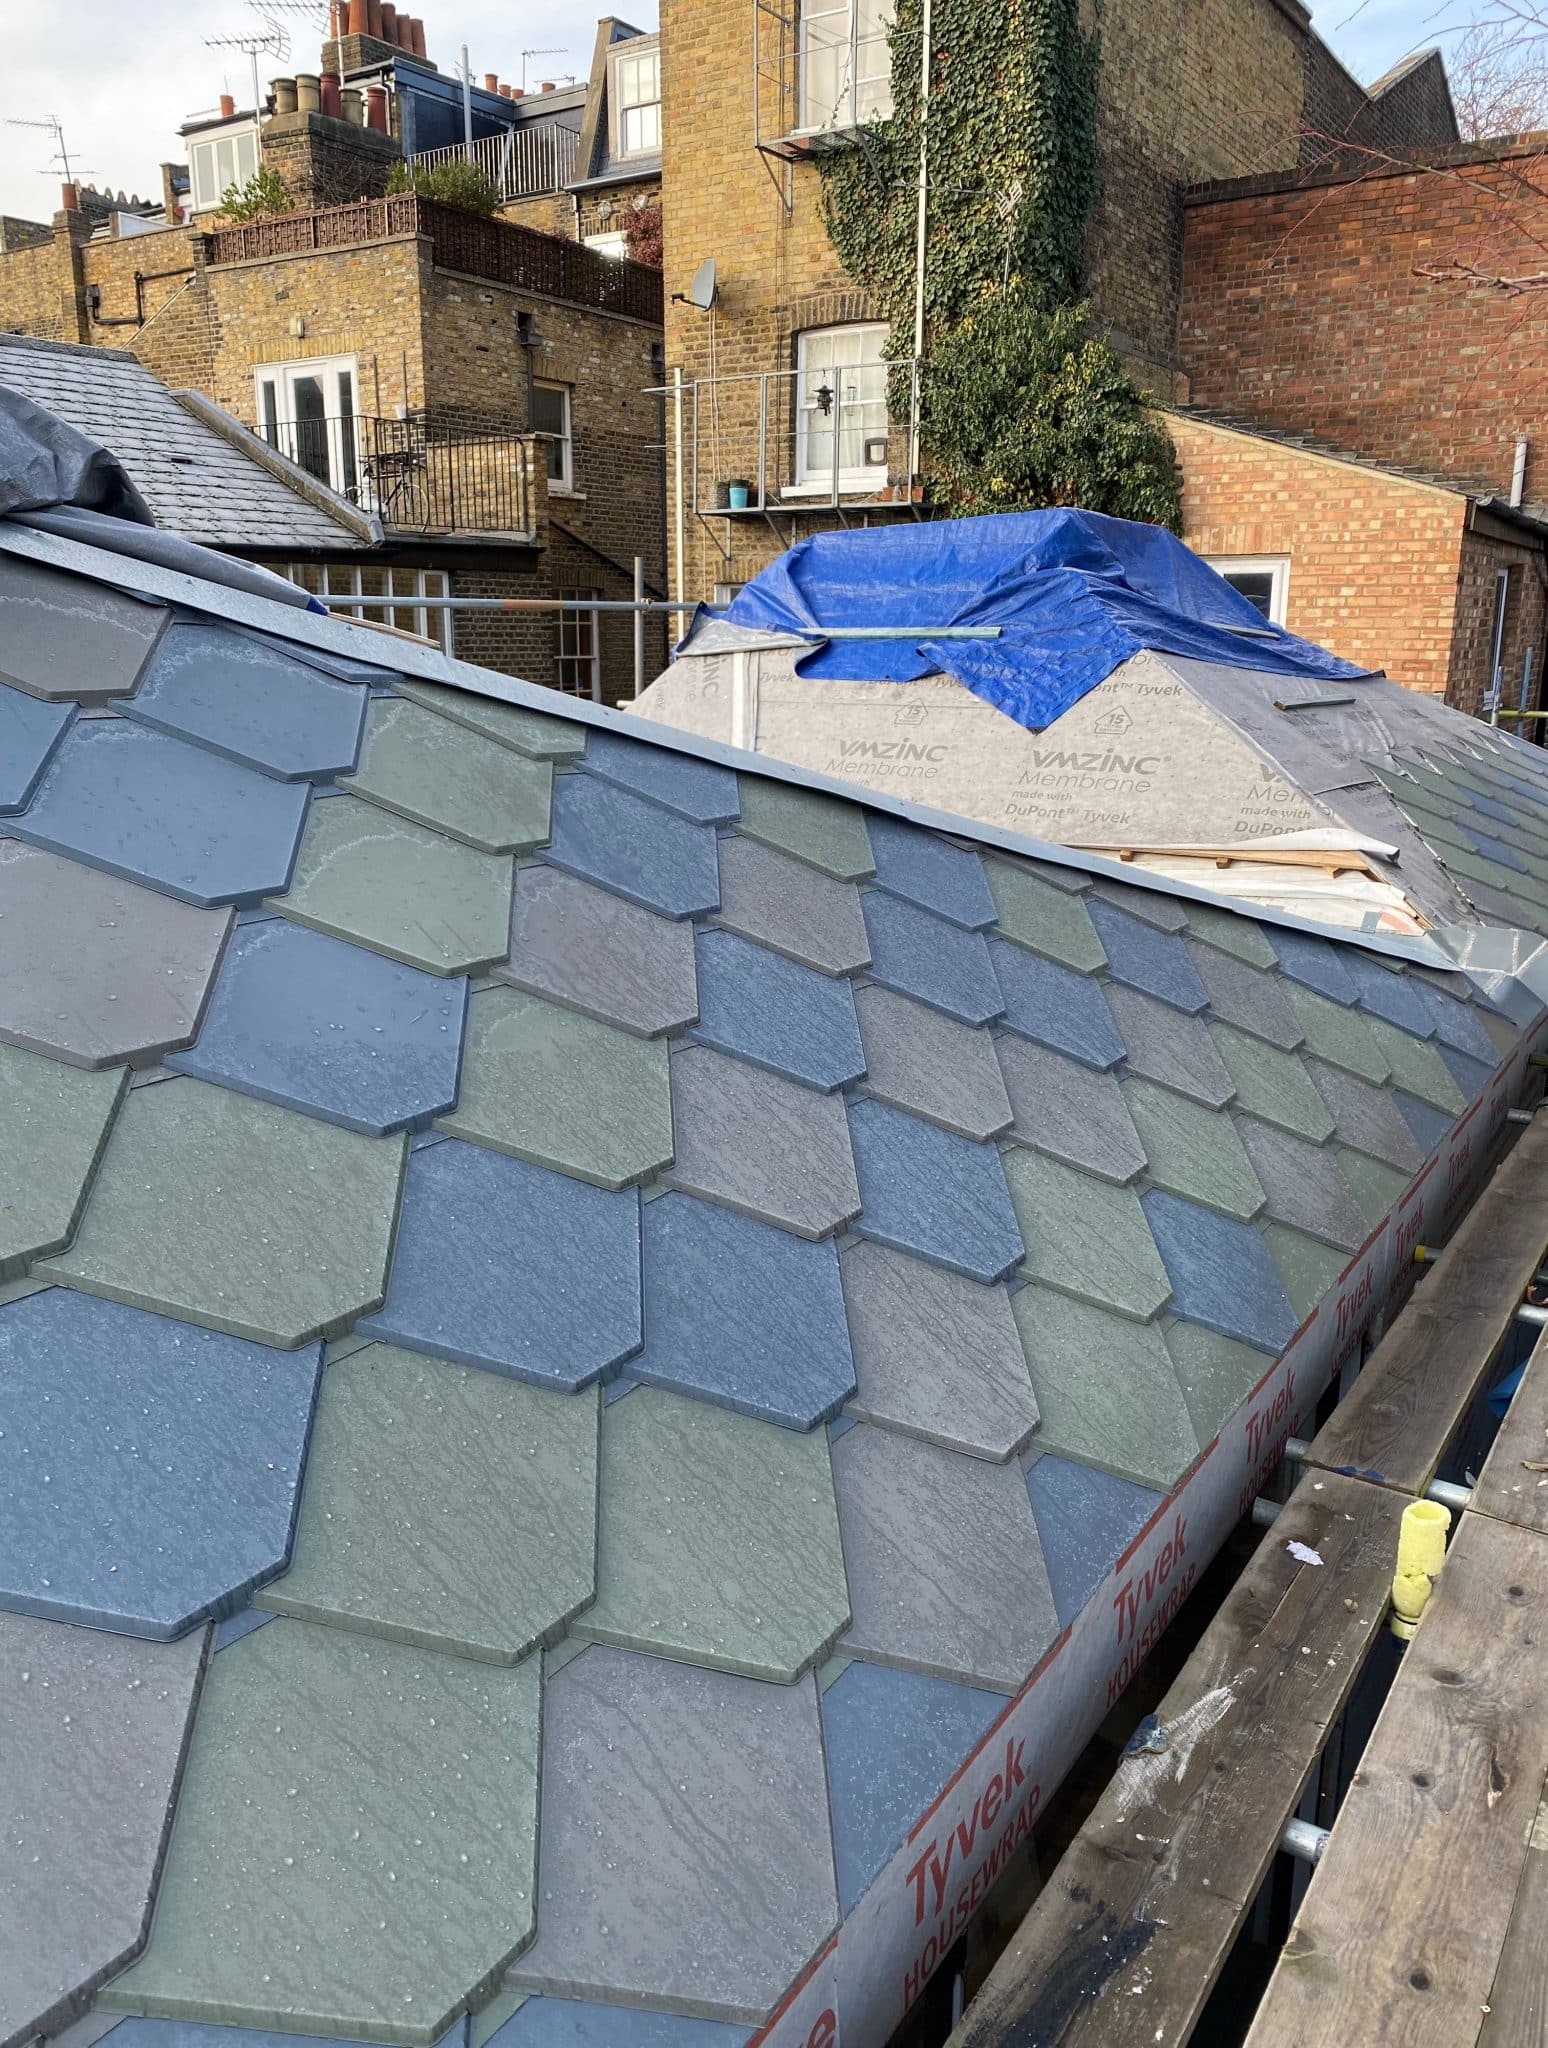
Loyal readers will remember that we have chosen these beautiful coloured zinc shingles for the roof, but that our roofers who were meant to have done the job back in July went AWOL. In September, a lone roofer was sent to work on it, and he did a brilliantly meticulous job for three weeks, but the poor man had to go up and down the ladder endlessly as he didn’t have anyone to pass things up to him. He progressed at a snail’s pace, and then one day disappeared completely. This is exasperating on so many levels…The scaffolding hire is really expensive, but more annoying still is that the builders are unable to do any exterior work whilst it is still there. The external wall cladding can’t go on and the air source heat pump can’t be installed. So the saga continues…
The Floor


End grain flooring and Britain’s best floor fitter in full flow
Meanwhile, inside the house the flooring went down as planned. The flooring installer was according to my builder ‘the best in Britain’ and I have to say he bashed out whole house in 3 ½ days with incredible precision. I am over the moon with the end grain wood which we had chosen for our bedroom and the corridor. The pattern is more muted than we thought so hopefully won’t fight with the mural wallpaper.
The Kitchen
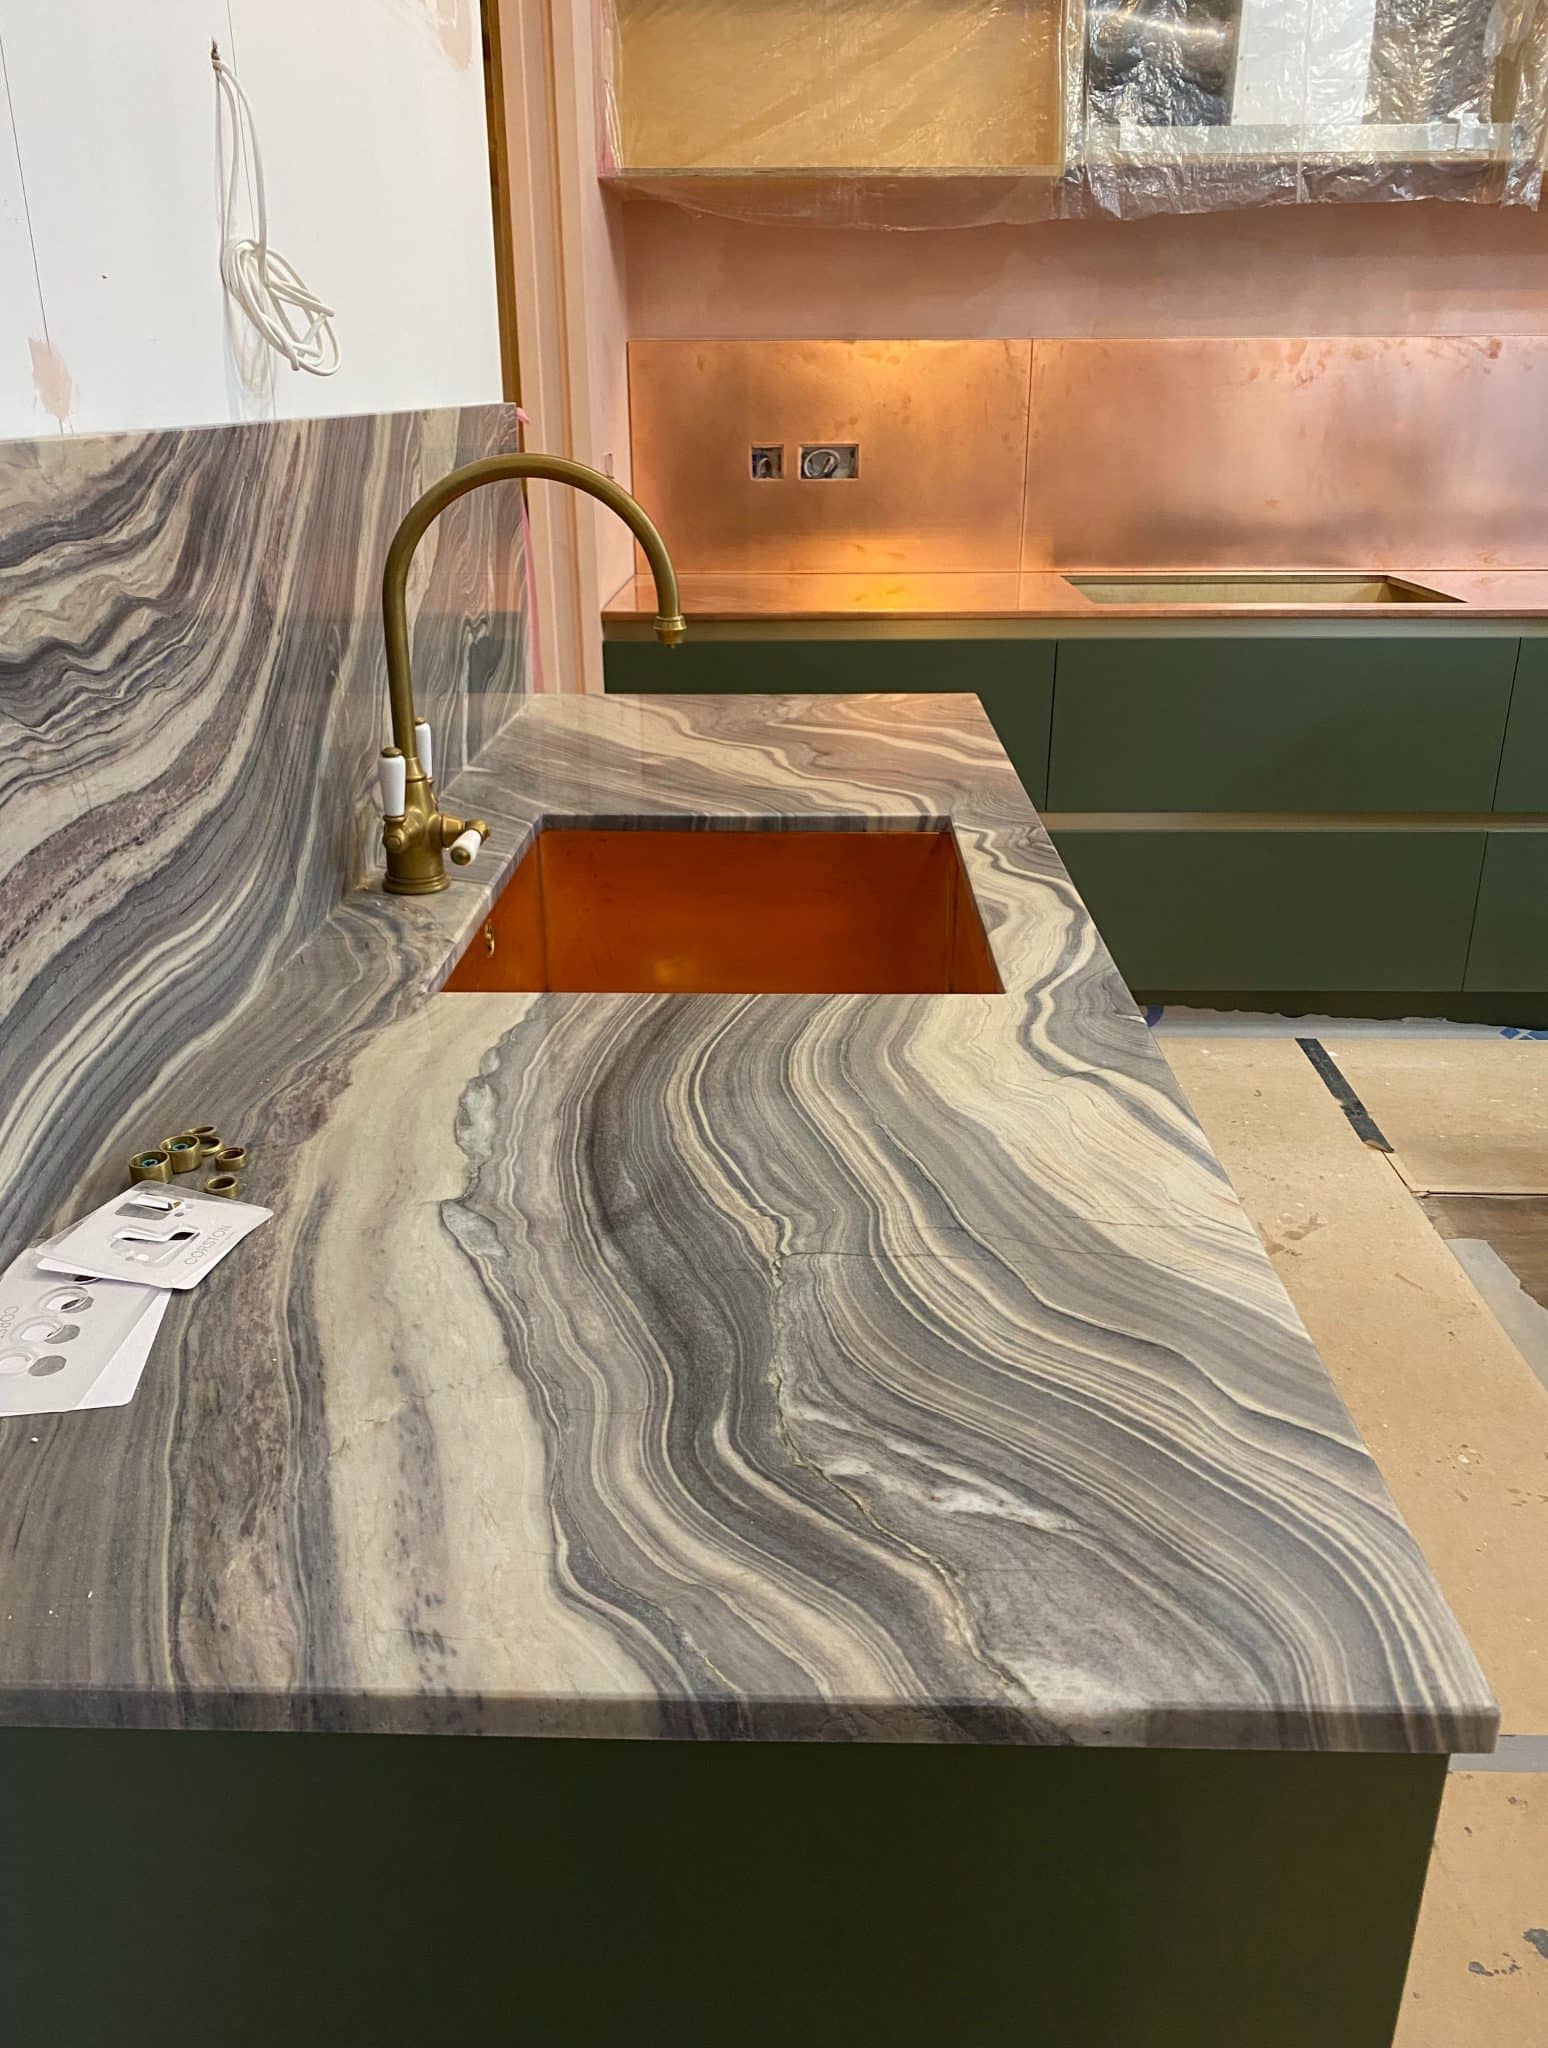
Our architects designed the kitchen which we of course went through with meticulous detail, and organised for it to be cut out of plywood and sent to the site. We picked a soft olive colour for the spray painted finish cupboard doors. Apostoli our wonderful OCD Greek chippie, put together all the cabinetry from what appeared to us to be pretty sparse instructions. There were a few mishaps with the fridge and freezer doors opening the wrong way, but after a couple of weeks we were ready for the arrival of the piece de resistance… the marble (well it is actually quartzite) worktop and island. This was a nail-biting moment. As I am sure you can imagine, this was not a cheap design decision and looking at a slab of marble for ten minutes in a yard and then visualising it in your house with completely different light and surroundings suddenly seemed like a bad idea!
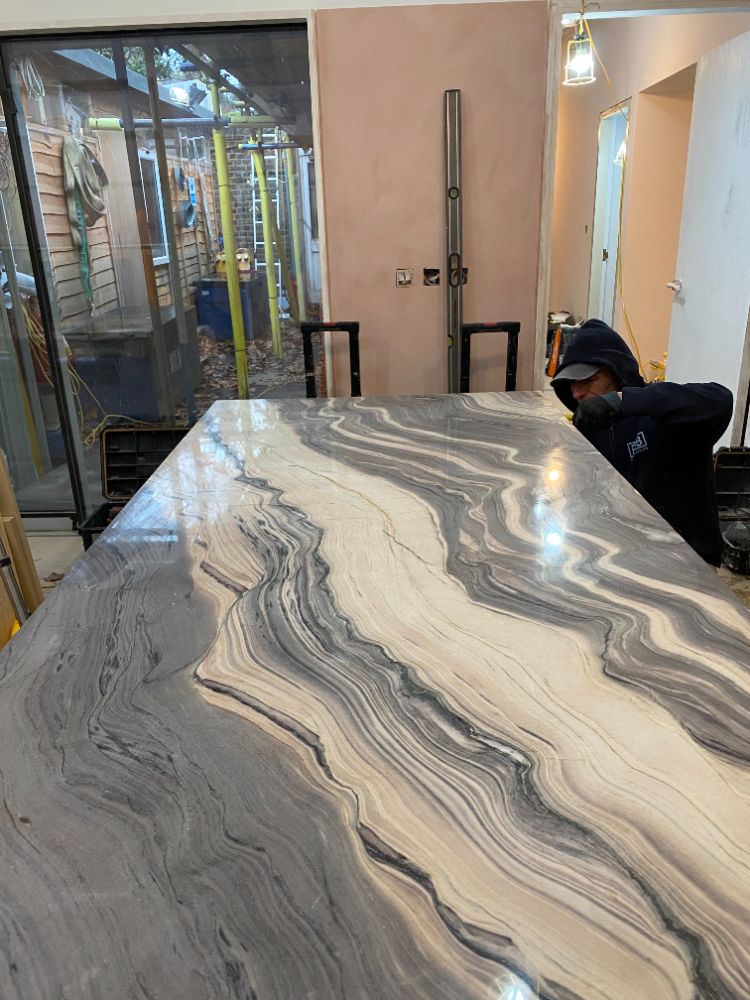
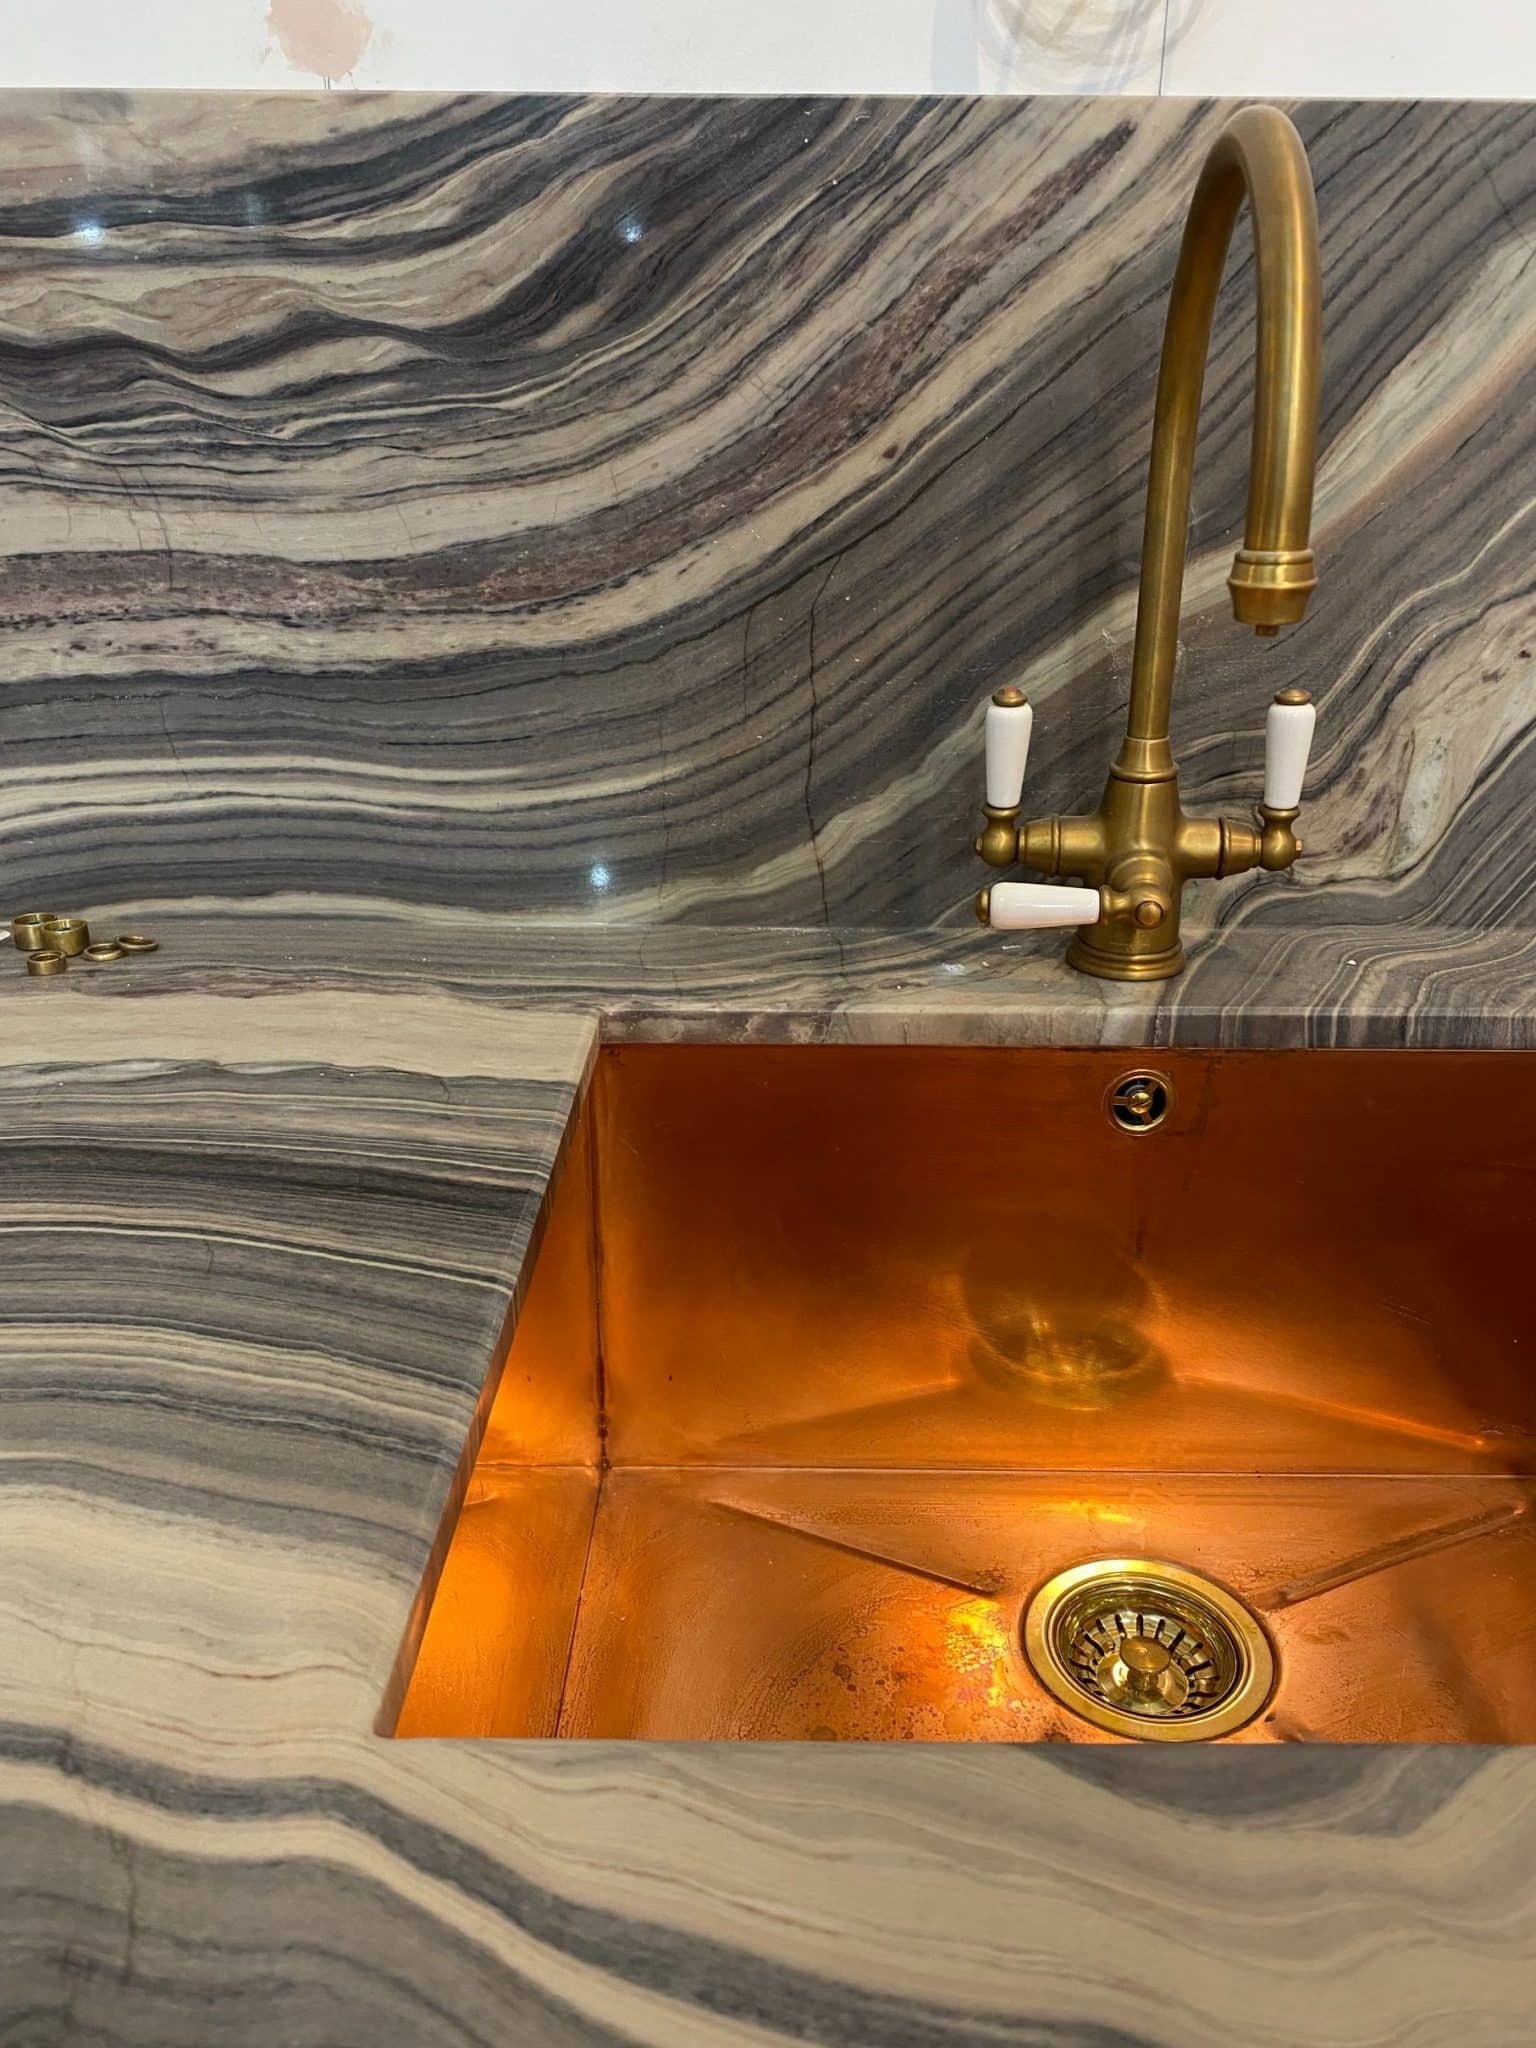
‘Explosion blue’ quartzite worktop and blingy copper sink which will patinate over time.
Much to my – and particularly my husband’s – relief, I love it even more than I thought I would. It is just so stunning! I could stare at the swirls of subtle creams, pale pinks and soft blue for hours, it is like a beautiful abstract painting. We couldn’t afford more than one slab, and besides one was enough for the space, so we chose copper for the sink for the other worktop around the hob area. I have always loved copper and the pinkish hues compliment the quartzite well. Add to that brass taps and brass trims around the kitchen cupboards, and you’ve got a timeless mix of metals.
The Tiles
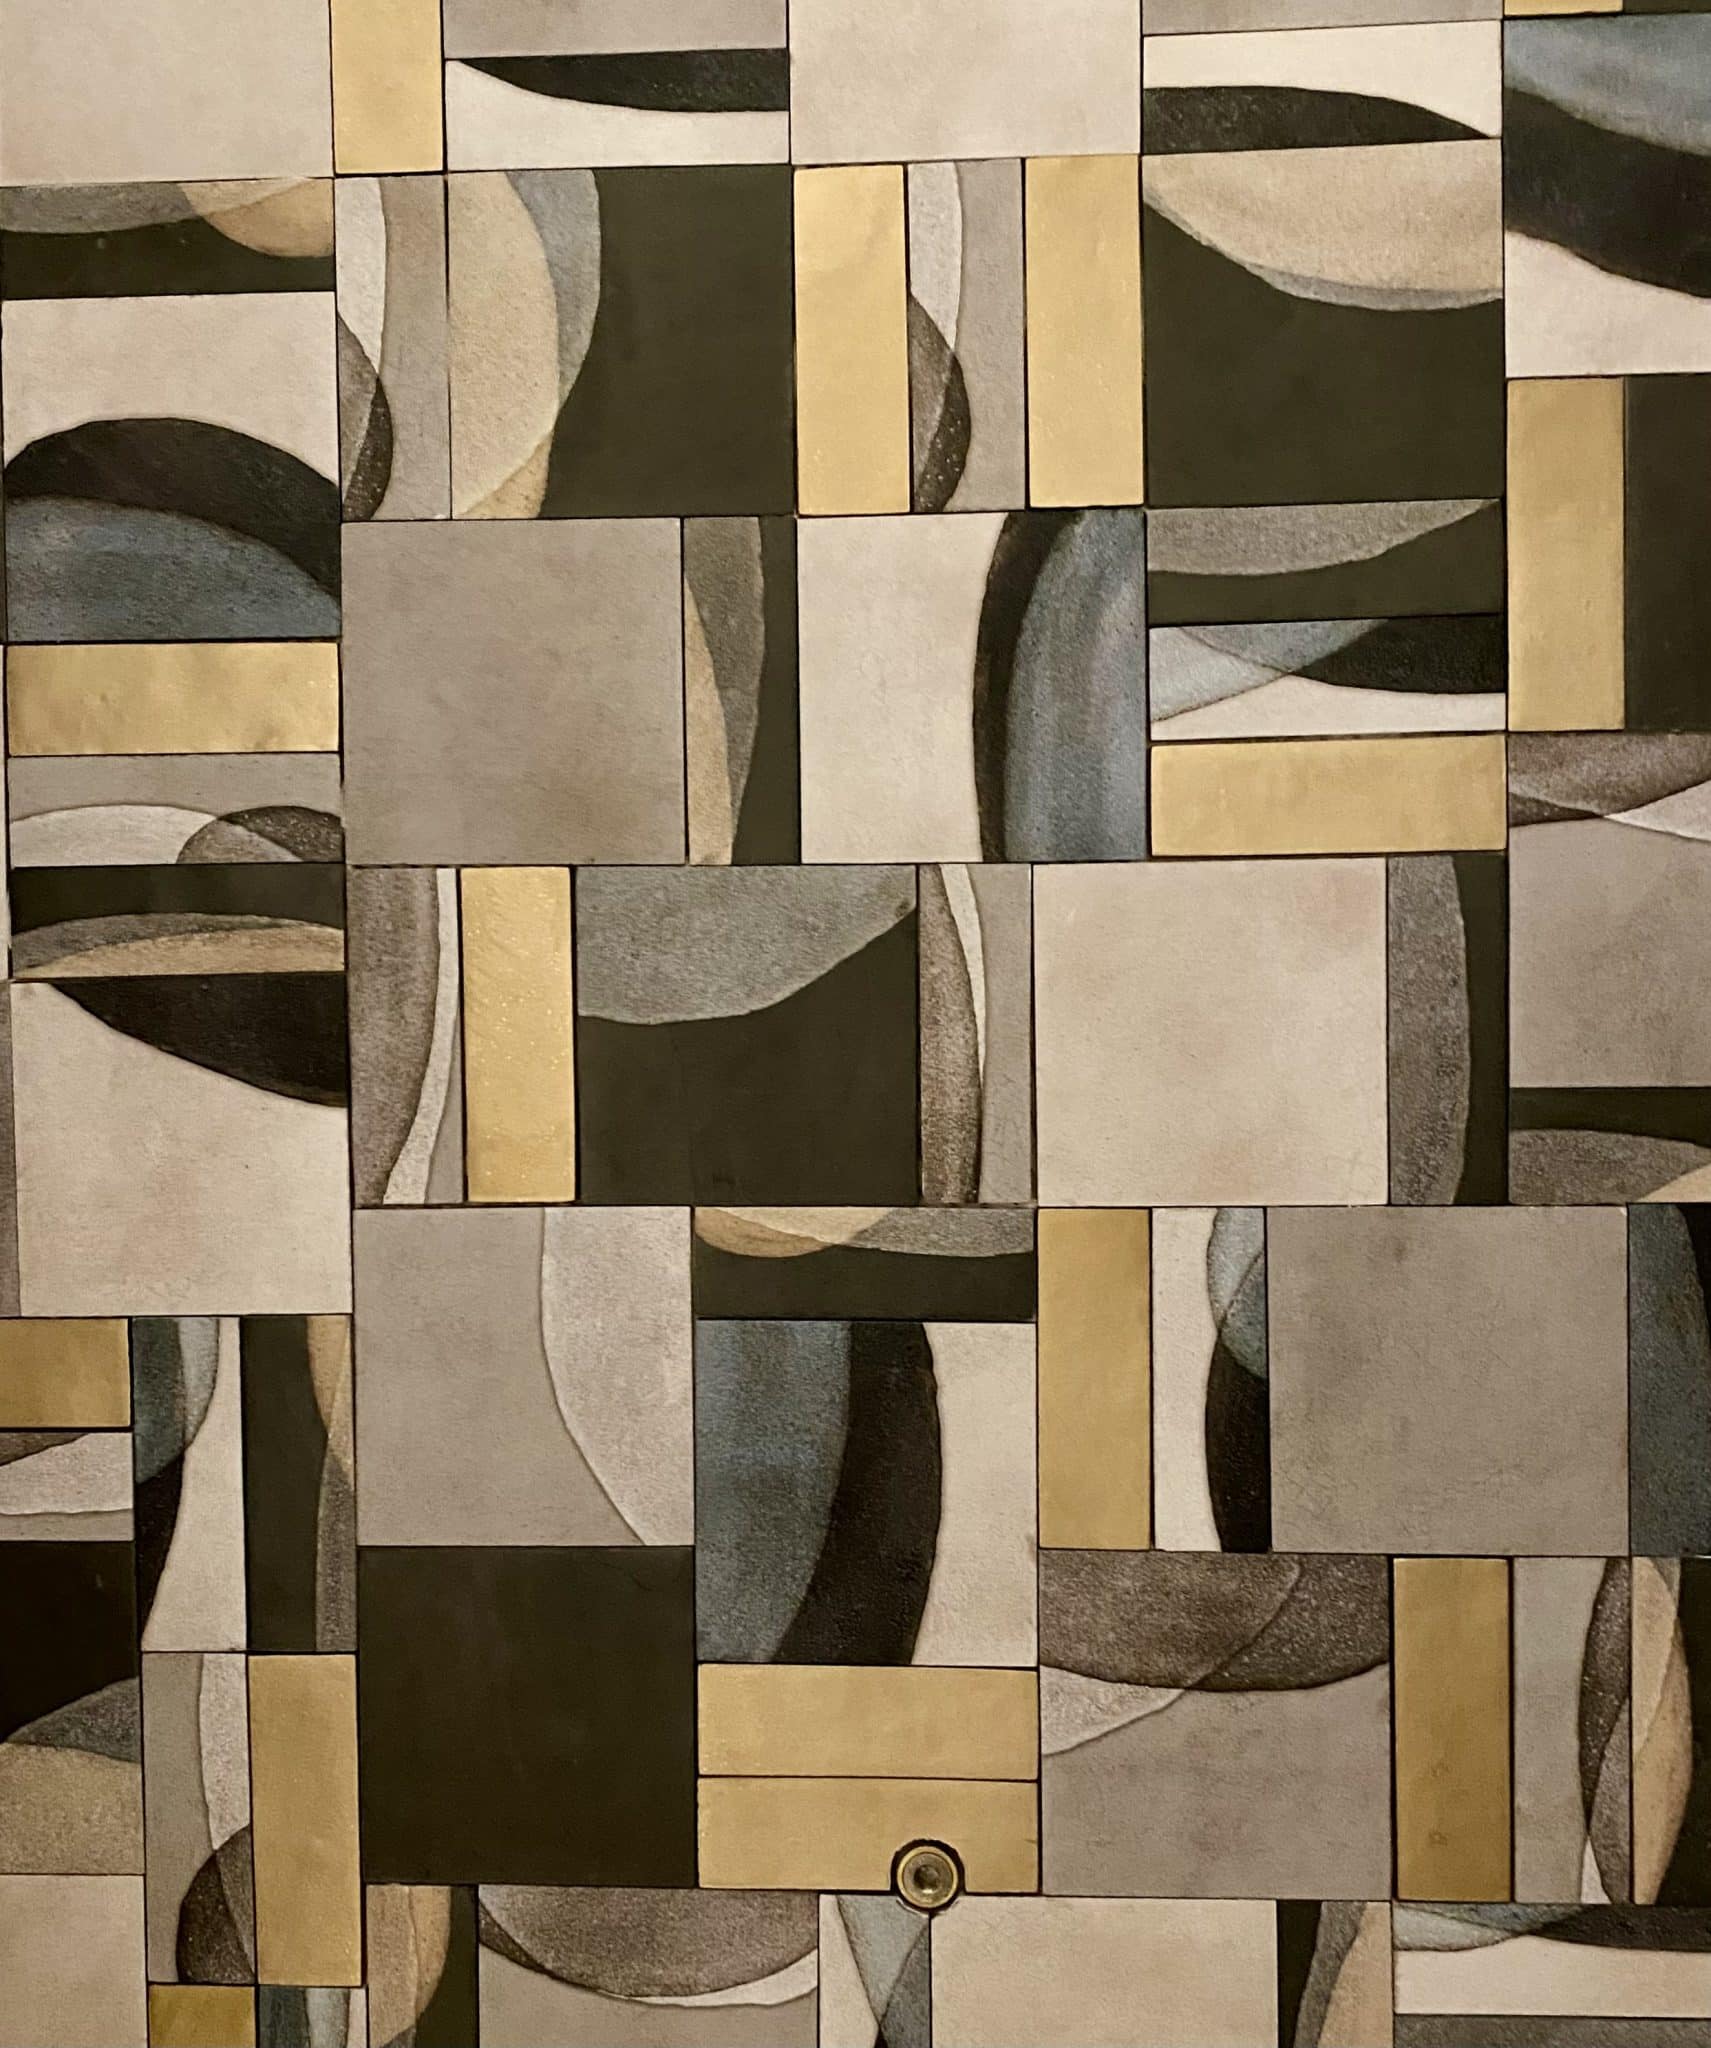
Next up are the bathroom tiles! As I have been working on a tile collection with Ca’ Pietra, they gave me a very generous discount on some beautiful marble scalloped tiles which I paired with large rectangular marble floor tiles. I am slightly worried about my kids trashing this beautiful bathroom in minutes as marble is highly porous and my daughter is going through a ‘teenage dying your hair’ phase – but too late for that!


It has not been such plain sailing with our bathroom tiles, as the wrong ones were delivered (hmmmm or maybe someone ordered the wrong ones…). Instead of plain tiles to mix in with the decorative ones, they all arrived with patterns on. I laid them out on the floor with the few plain samples and thought it looked OK, and as Raddi the tiler was breathing down my neck I thought ‘oh well… in for a penny in for a maximalist pound’. So I got him to put them up in the shower area. Unfortunately, this time it really did look a bit too much, and more plain tiles would have given the design breathing space but it was too late ️🙁
We (or possibly someone else… not naming anyone!) had also calculated the wrong amount of tiles so we didn’t have enough for the tiler to complete the job. While we waited for more to arrive, I had some time to rethink the rest of the bathroom wall. Instead of having the mad pattern running the whole way around the room, I have now decided to just do the shower area like this. I will use the same tiles on the remaining bathroom wall but just the plain ones and the odd patterned ones. Let’s hope this plan comes off!
Overall it has been really challenging decorating a new builld, trying to visualise the space when it didn’t actually exist AT ALL. I pride myself after years in the business of being able to ‘see’ what things will look like – it is so much easier when you can walk into an actual room. I keep reminding myself ‘done is better than perfect’ and things can be changed. Learning curves all round – but then that is life for you!
If you are new to my mailouts you can read previous mailers here
Next instalment… what colours for the walls and will the roof ever be finished?! Stay tuned!
Have a lovely weekend,