The story behind the design
Curious how we get from Clarissa’s original nature photography to her trademark botanical designs? Read on to hear from Clarissa just how that process works, step-by-step.
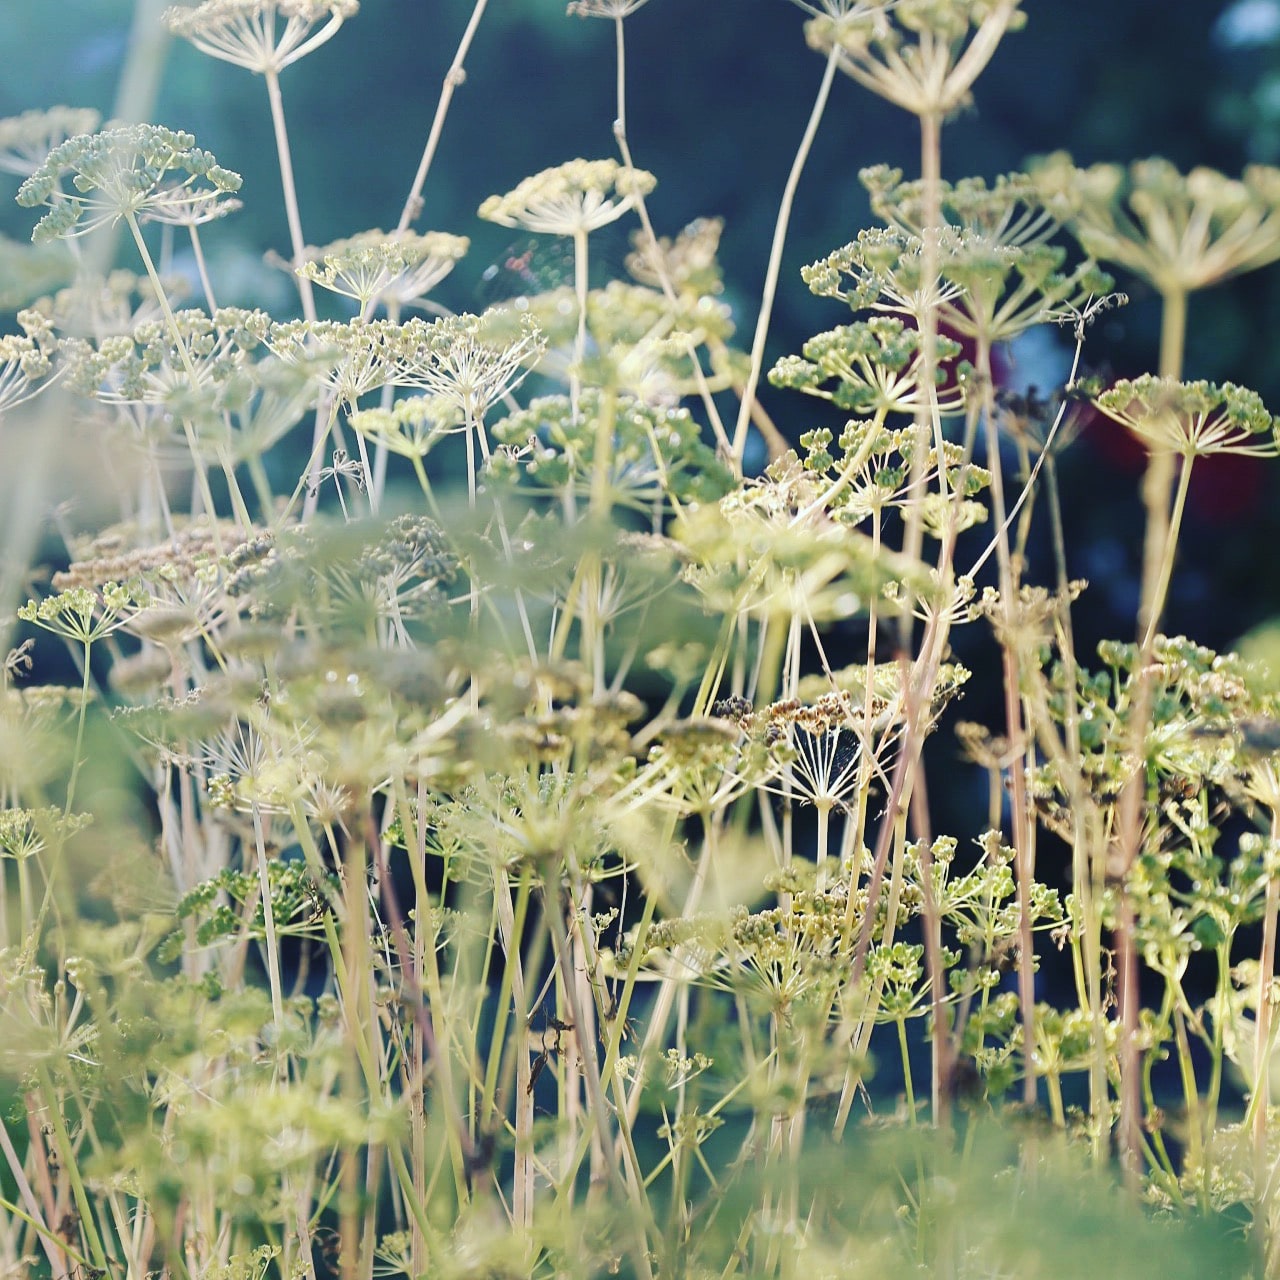
1. Getting the shot
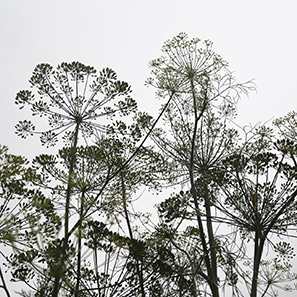
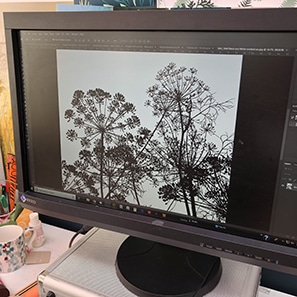
Anyone that is familiar with my work will know that it is all inspired by nature. For the Dill design I spent a very happy morning taking pictures in my friend Tania’s Wiltshire garden, literally lying in a big patch of dill. The original photos were quite chaotic so we use photoshop to thin them out a little. I tend to find the best shots are those that need the least manipulation.
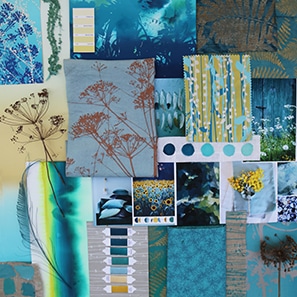
2. Preparing the silk screen
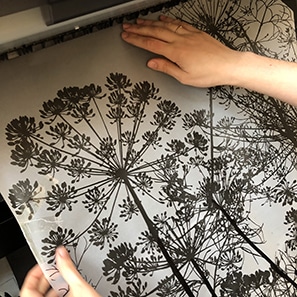
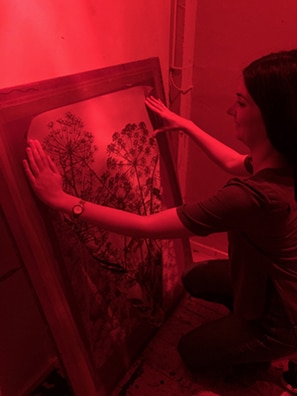
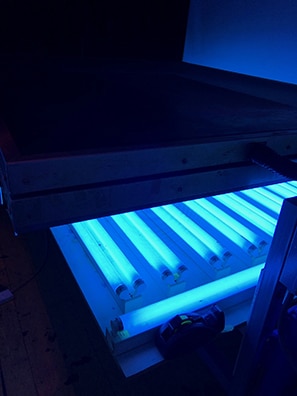
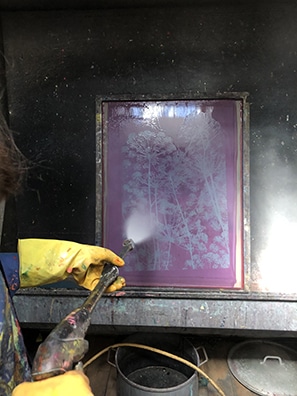
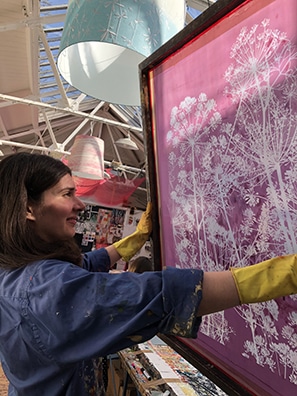
This part is quite technical! First we print the artwork onto tracing paper to create a stencil using photography grade Epsom printer. The screen is coated in a light-sensitive emulsion and left to dry in the dark. We then put the screen onto a light box, and using the tracing paper as a stencil we expose the screen to light. Where the light can penetrate, the emulsion hardens and cannot be washed off. When we wash the screen, the lines of the design are washed away, making a porous surface for printing (sorry if I lost you here!)
3. Colour
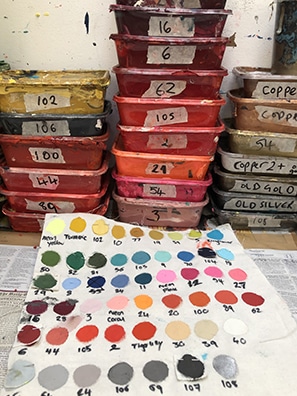
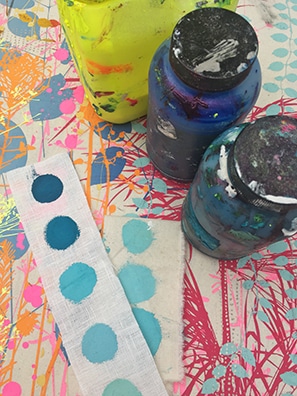
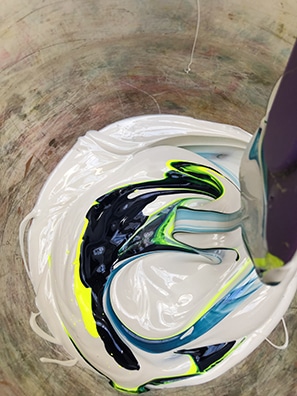
The next stage is to mix up the colour. We use an opaque binder into which we add drops of pigment. We mix all of our colours by eye and it is quite an art to get it perfectly spot on and consistent.
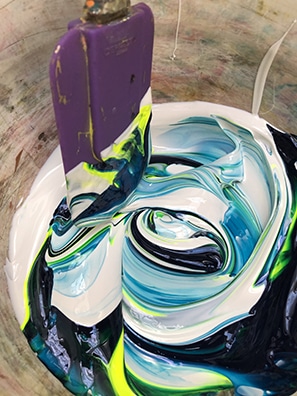
4. Time to print
Next, we pin out the fabric onto our famous calico packing cloth on the print table, and start printing!
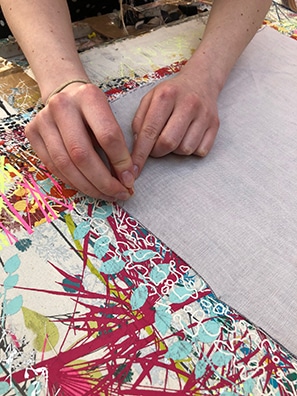
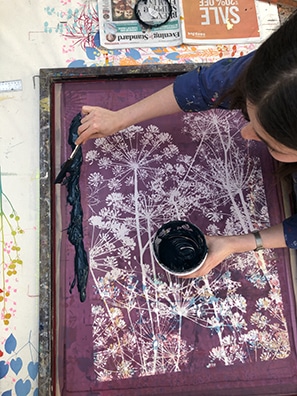
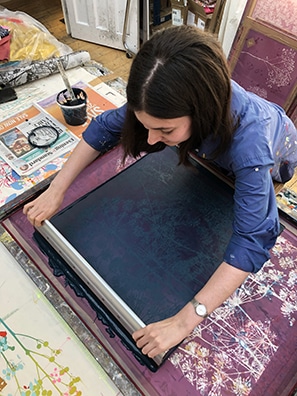
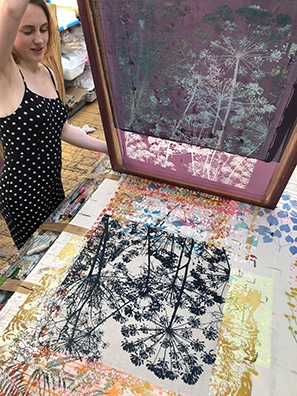
5. Repeat!
Repeat in two senses of the word! First we print lots of different colour combinations until we’re happy, and then we put the design into repeat so that it works on the scale of bed linen, or a cushion. I love to screen print as it’s just so much more tactile than working with computer printed designs, and you can really see how it will look on fabric.
Et voila, the finished result! This is my favourite part of the process, when the final product arrives in the studio and we see the fruits of our labour for the first time!


